Materials needed:
- Instant Mold = a soft transparent material that can be molded when hot, and fixes when cooled off, but stays bendable. Ideal for making molds.
- Milliput = a 2 part kneadable epoxy material, that can be used to sculpt, fill gaps, etc. Like greenstuff, only of a different composition. Great for bases!
- Modelling tools such as a scalpel
- A large lid or an old cup to put some water in
- Spray primer
- Lego bricks
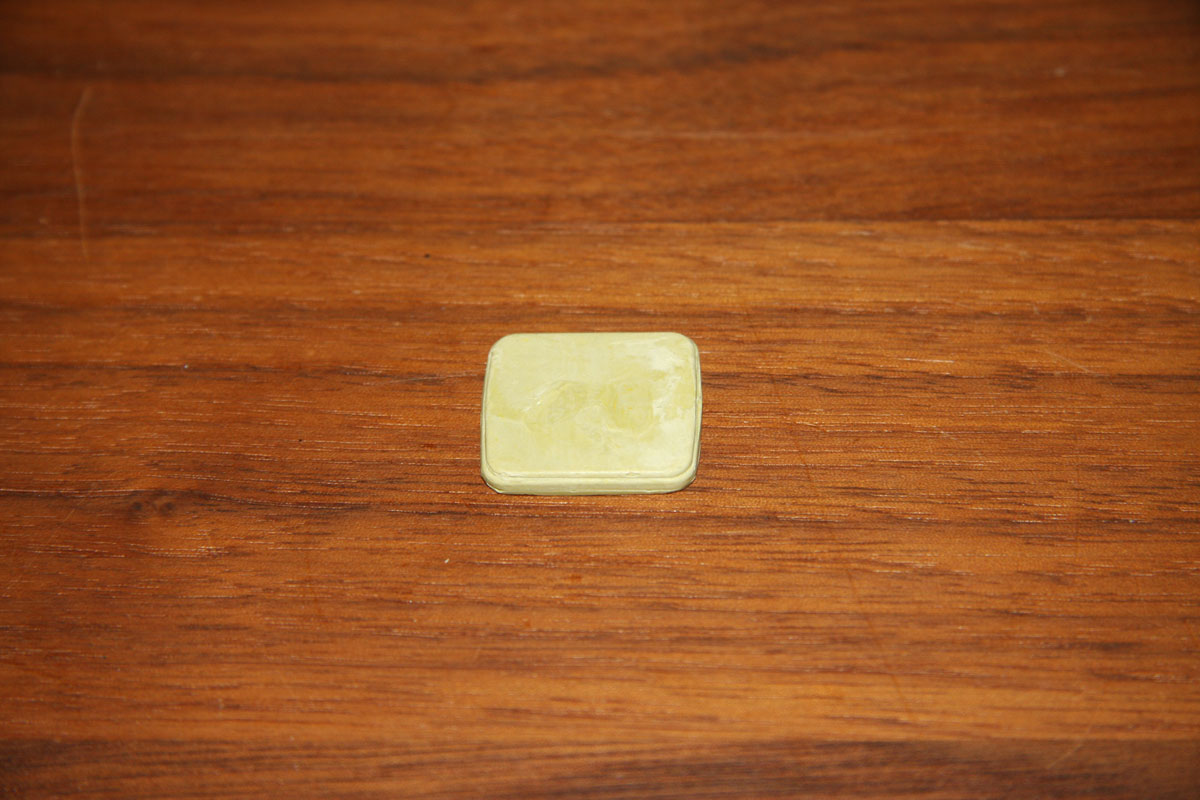
So, first of all you need a base to use as a model. You could cut off a base from a broken HeroQuest mini, if you have one, but I used a zombie mini to create my model base. I put some instant mold in hot water, pressed the mold around the zombies feet, inside a square recepticle I made from Lego bricks. When it cooled off, I cut through the mold on one side, slipping out the zombie mini, and placed the mold back inside the Lego bricks upside down. This way, the cut was being held together by the Legos. I then fixed some Milliput and pressed it in. After it hardened, I use a small file to smooth the new base, and sanded down the top (there were two feet-shaped extrusions on top). It turned out pretty well, so I kept using this base as my original:
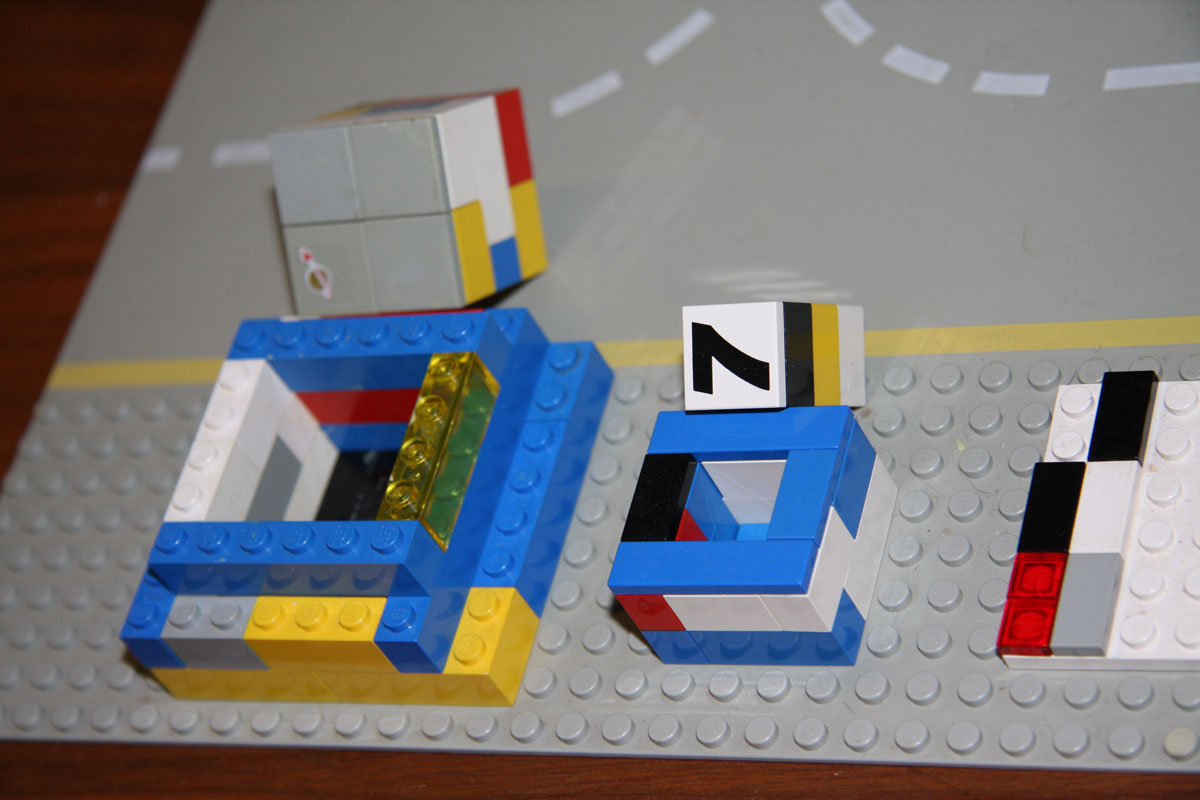
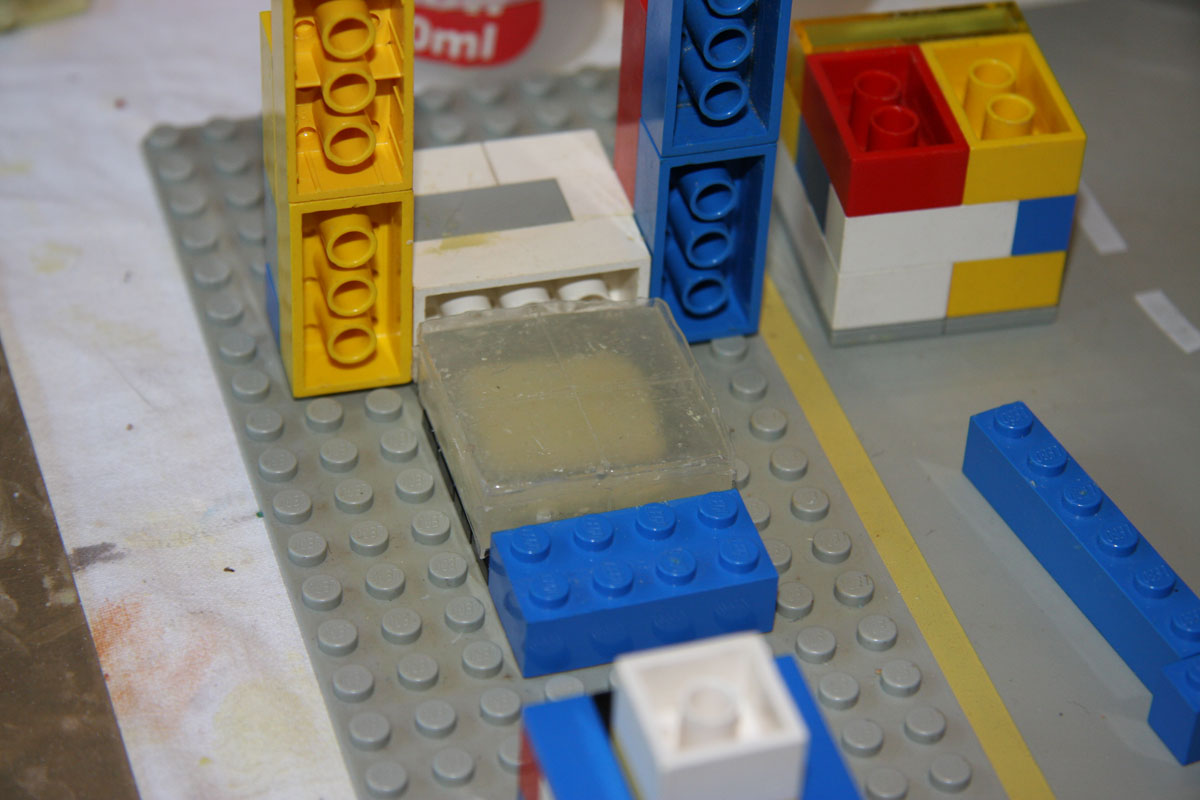
Build a box from Lego bricks like this one. The base is 4x4 dots, and covered with smooth tiles. I've also built one of 2x2 dots, for smaller objects. Then build a block that fits inside the box, with a smooth top. This you use for applying pressure on the instant mold.
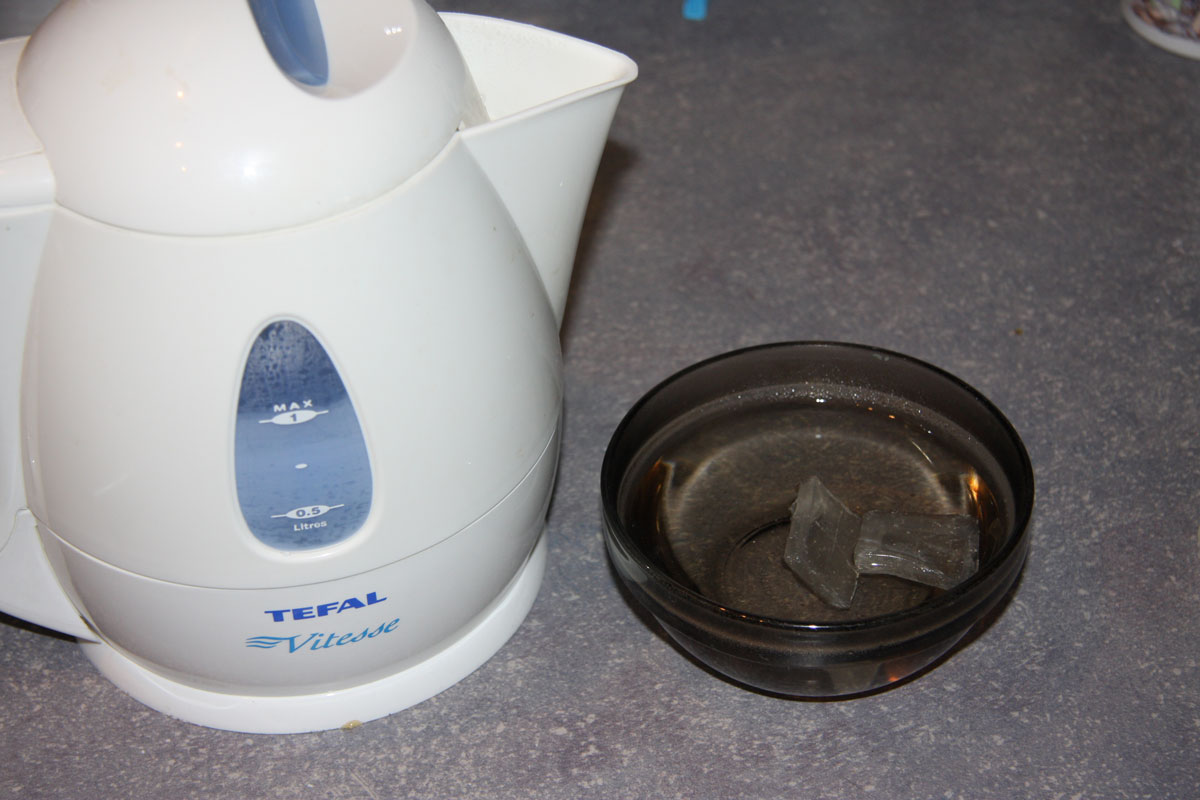
Boil some water, and pour it on a scale or bowl. Drop your instant mold in the water. Be careful with hot water! Use tweezers or something.
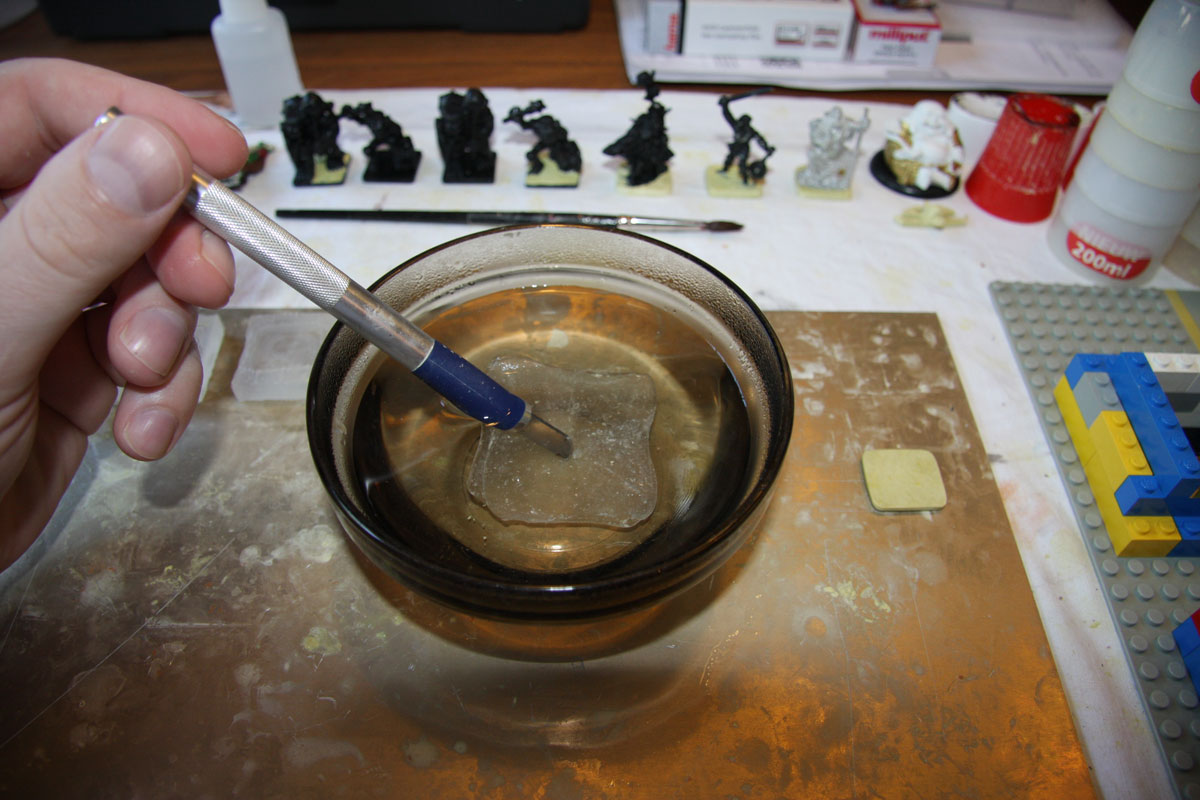
Wait about 30 seconds, and see if the instant mold gets soft. Take it out of the water with a tool, like my scalpel here, and see if you can mold it easily. It's hot to the touch, so be careful.
Fold the instant mold into a square, slightly smaller than your Lego box, and press the original base onto it, top side first. Then place them into the box, base first, instant mold on top.

Quickly press the pressing block on the instant mold. Use something with a smooth surface, like the lid shown here, or you will get Lego imprints in your hands, which can be painful. Press hard for a few seconds, but don't overdo it.

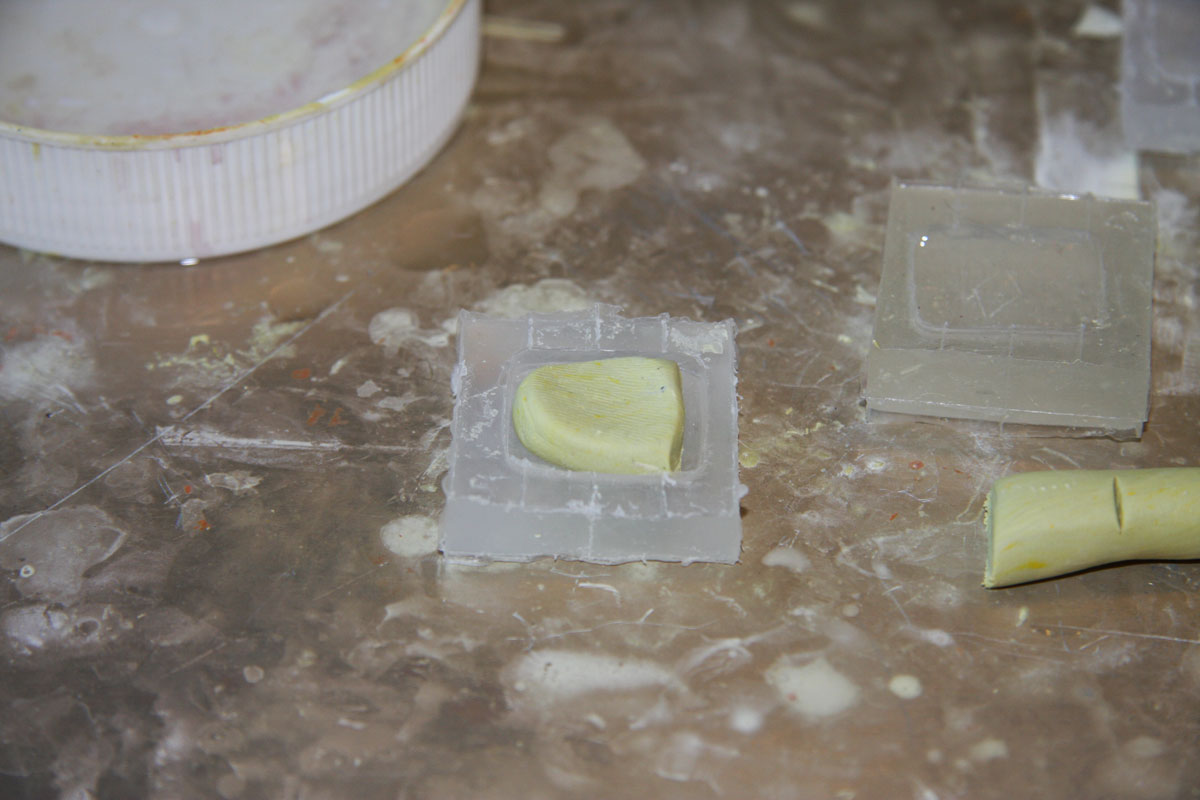
Let it cool for 5 minutes, and then carefully dismantle your box. The instant mold should look like this:
If it's cool enough, you can safely press out the original base without the mold deforming. You can do it as many times as you have instant mold for, and you can end up with something like this. I've made three molds for a flat base replica, and flipped the base over for the other two molds, so I can make bases for miniatures with slots or integrated bases.
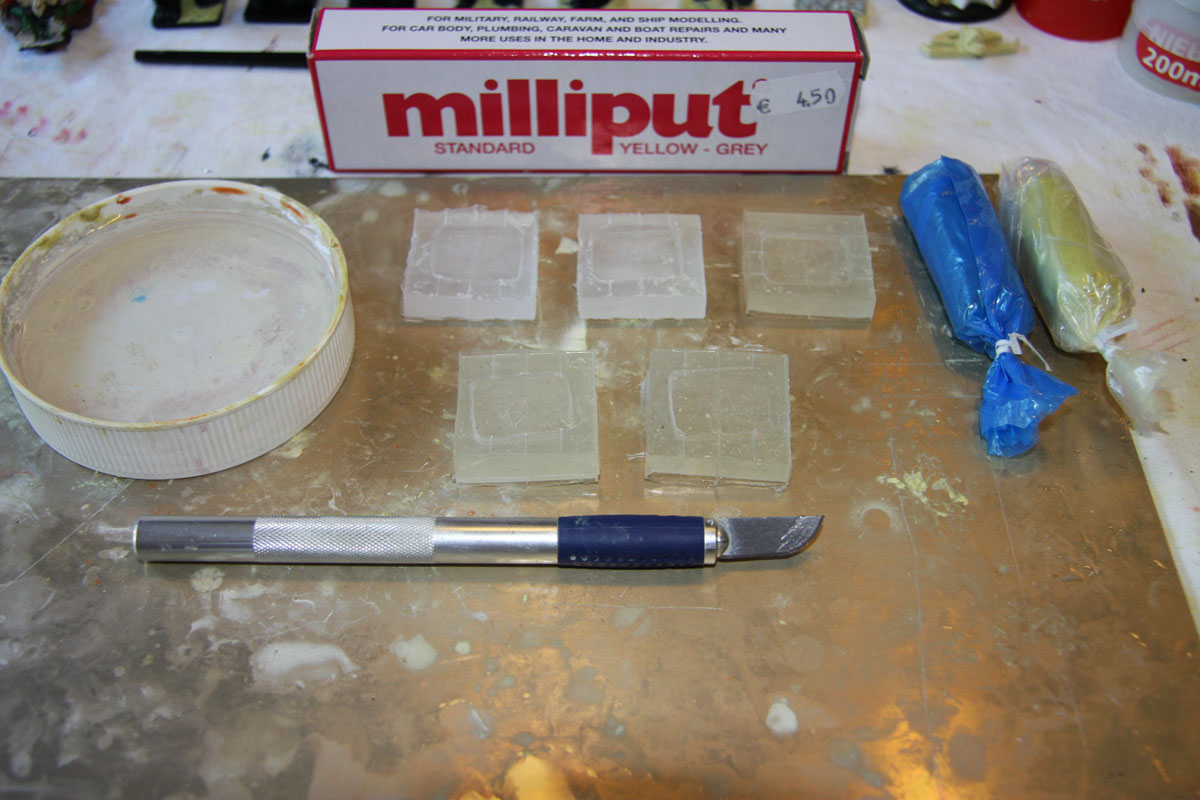
Open your Milliput, and cut off about 2.5mm of each compound per base. I always cut off a little bit extra, just in case. I can always use it for something.
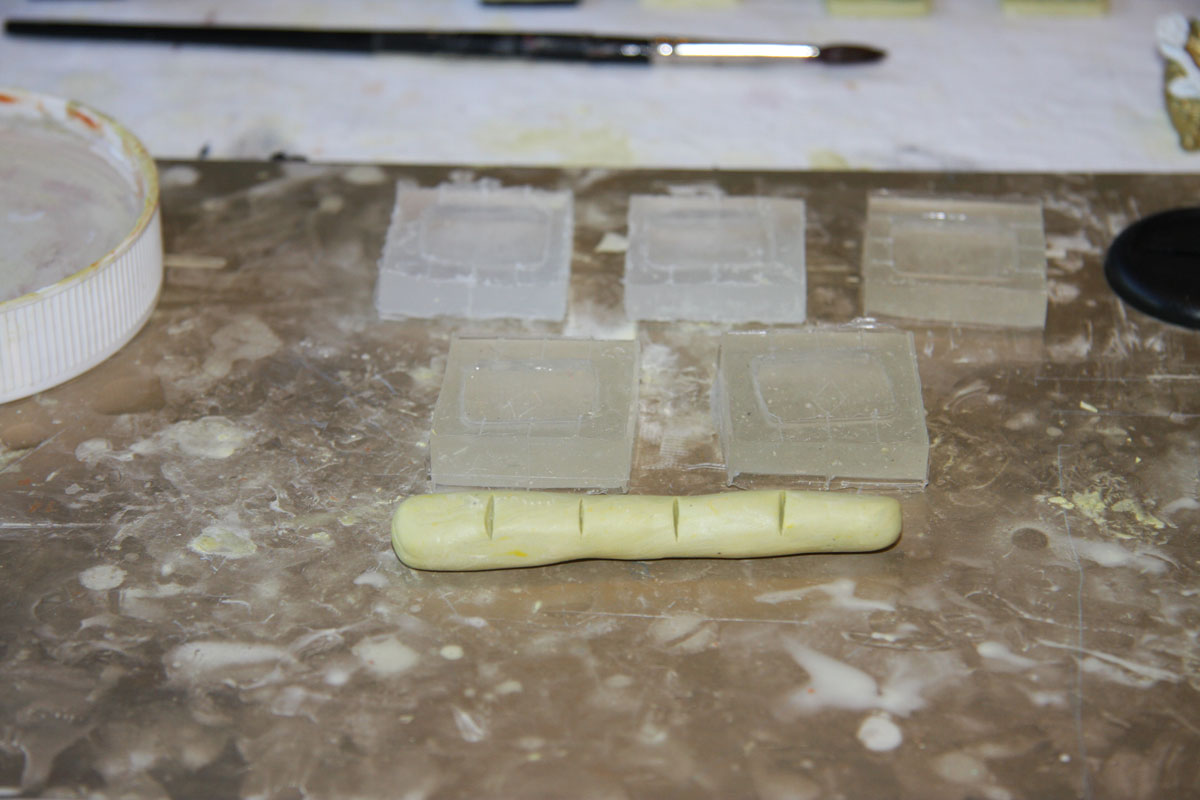
Knead the two components together with wet hands. I use the same lid I used for the press to have some water nearby, just to dip my fingers in every now and then, to keep the milliput from sticking to my fingers. Knead until there is one uniform colour. I roll a sausage, and cut in small lines, dividing it in the amount of bases I made it for.
Then press the milliput into a mold, press it into the edges firmly with your (wet) finger. The yellow grey milliput is very smooth and will flow easily. Don't be afraid to use plenty of water.
I've filled the three molds this way to create 3 flat bases. Then I filled an inverted mold as well, making sure to press firmly into the edges. I smoothed out the top with my finger, and then just pressed in a slotted mini, slowly. Make sure the mini is wet!
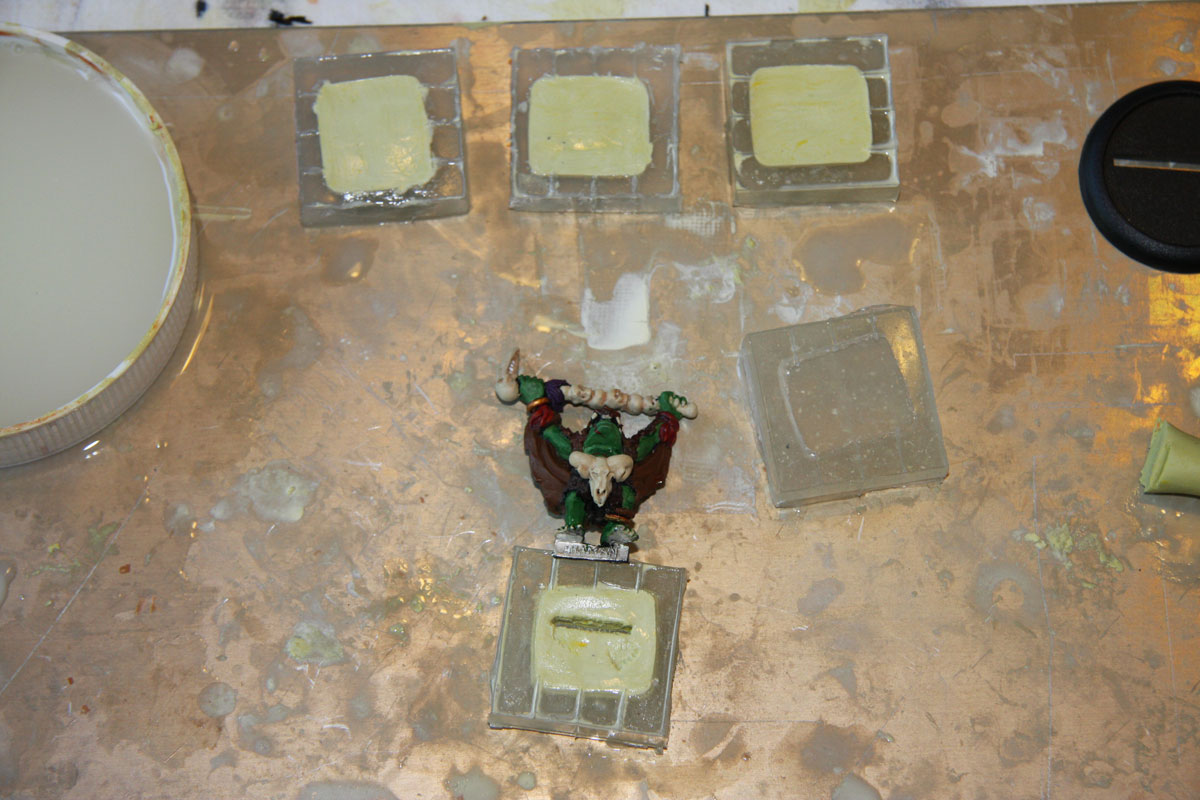
You can also press in minis with integrated bases as I mentioned before. In these cases, I try to stuff some milliput into the mold at the places where I need milliput, leaving the spot free where the integrated base will be. Then I stuff the model in, and if needed add some milliput to smoothe over the top of the base. You can sculpt the top of the base right away, matching the base on the mini if you want. Here are some examples:
When I have some leftover milliput, I squeeze it until I have a flat little milliput pancake, and push it on top of a base that I want to sculpt. Push out the milliput with yout wet finger or a wet scalpel or other modelling tools, until you touch the feet of the mini. From then on, press outwards. Cut off excess milliput at the edges. Then I use the back of an old brush to make some dents, and a scalpel to trace cracks or tiles.
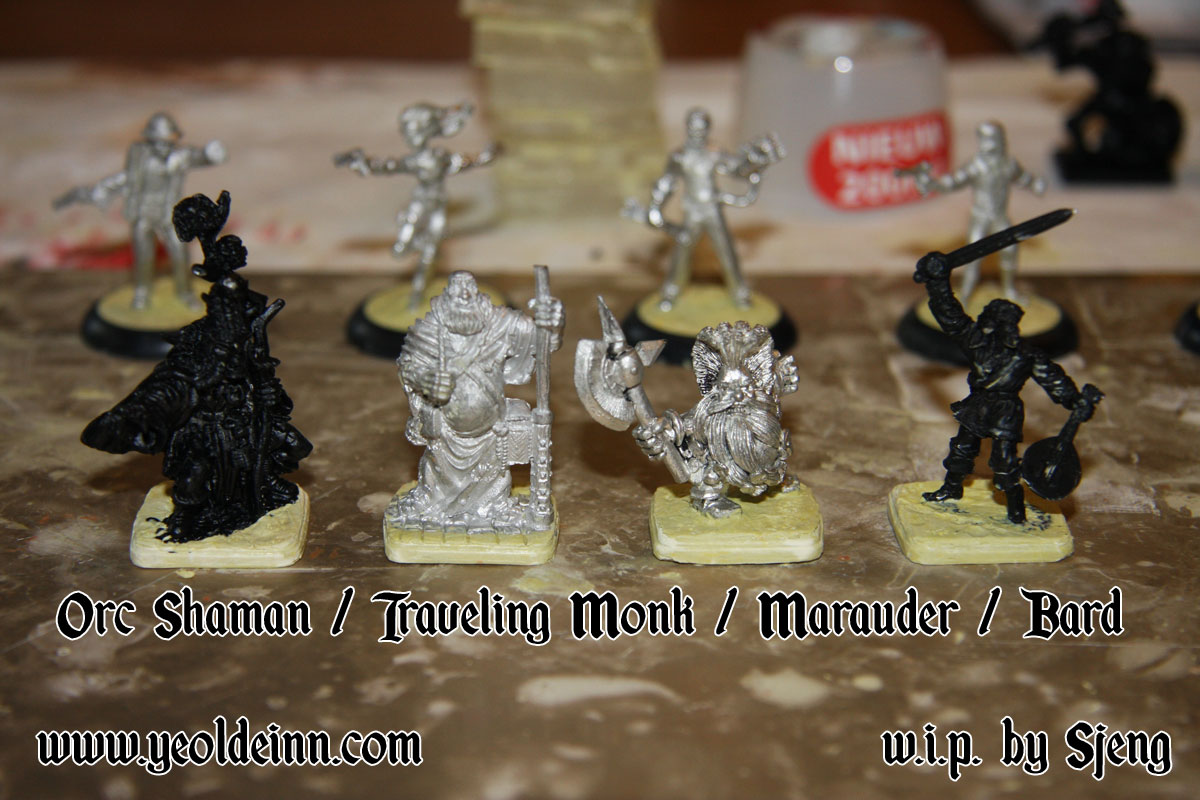
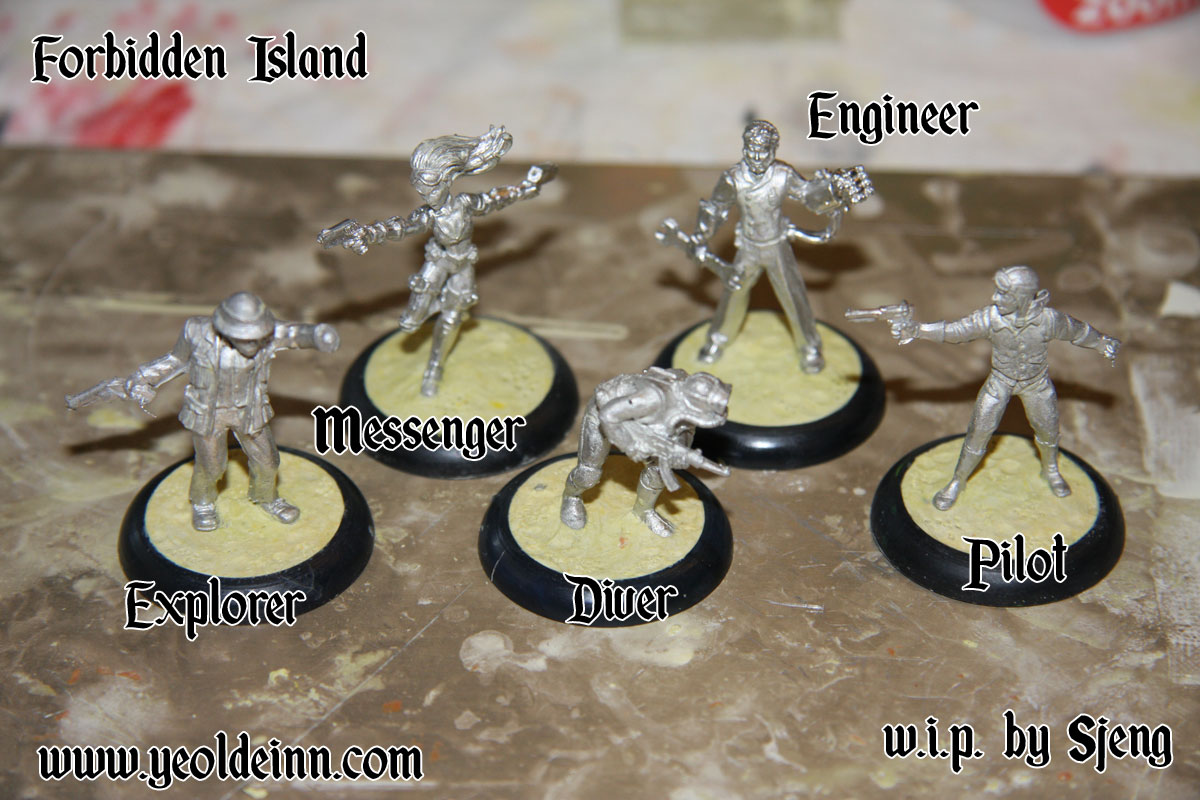
Some other minis I've based with milliput. These are going to be my models for the fun little game called Forbidden Island, which is a co-op game on a sinking island. There are 6 characters in the game, but I didn't have a suitable round base for my 6th model yet.
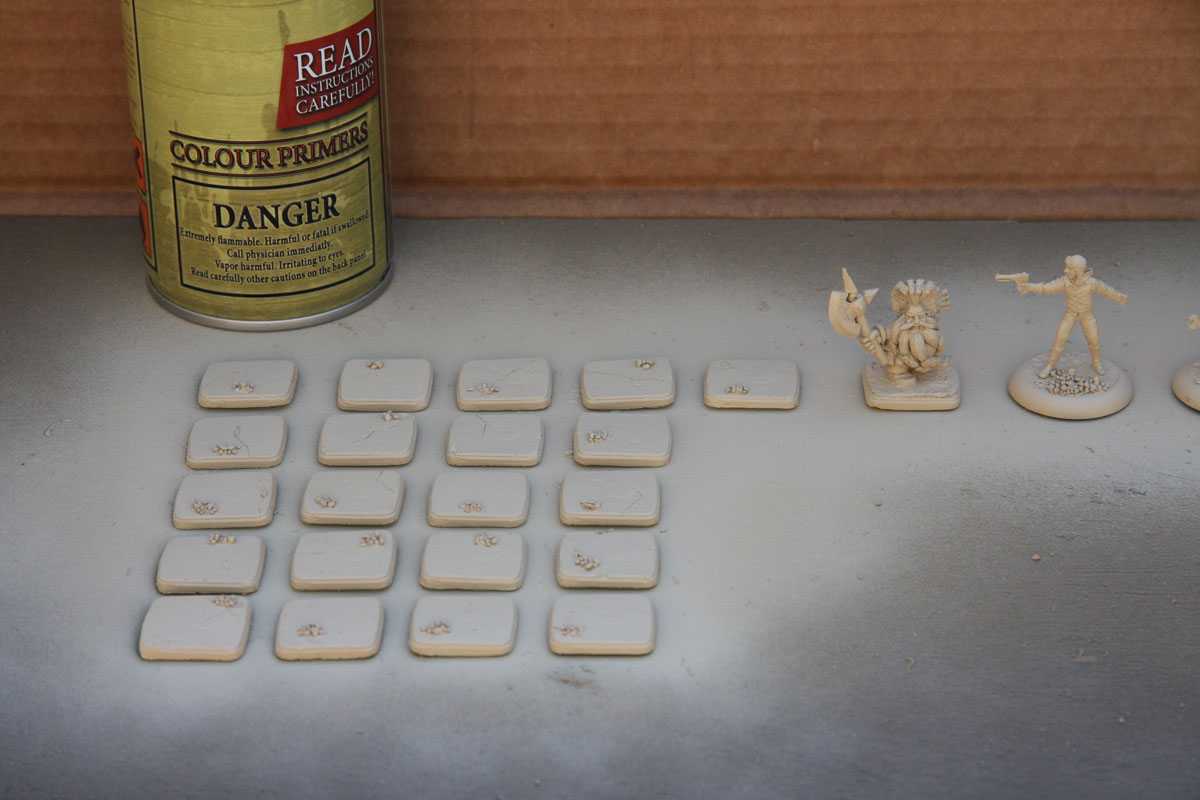
After all my bases had dried, and I had made enough, I added some tiny rocks (decorative sand from a home deco shop) and then primed them with bone white spray. As you know, spray from about 20~30cm distance, in 2 or 3 thin layers, from 4 sides. Don't try to cover everything at once. Spray in a ventilated area. Wear protective clothing.
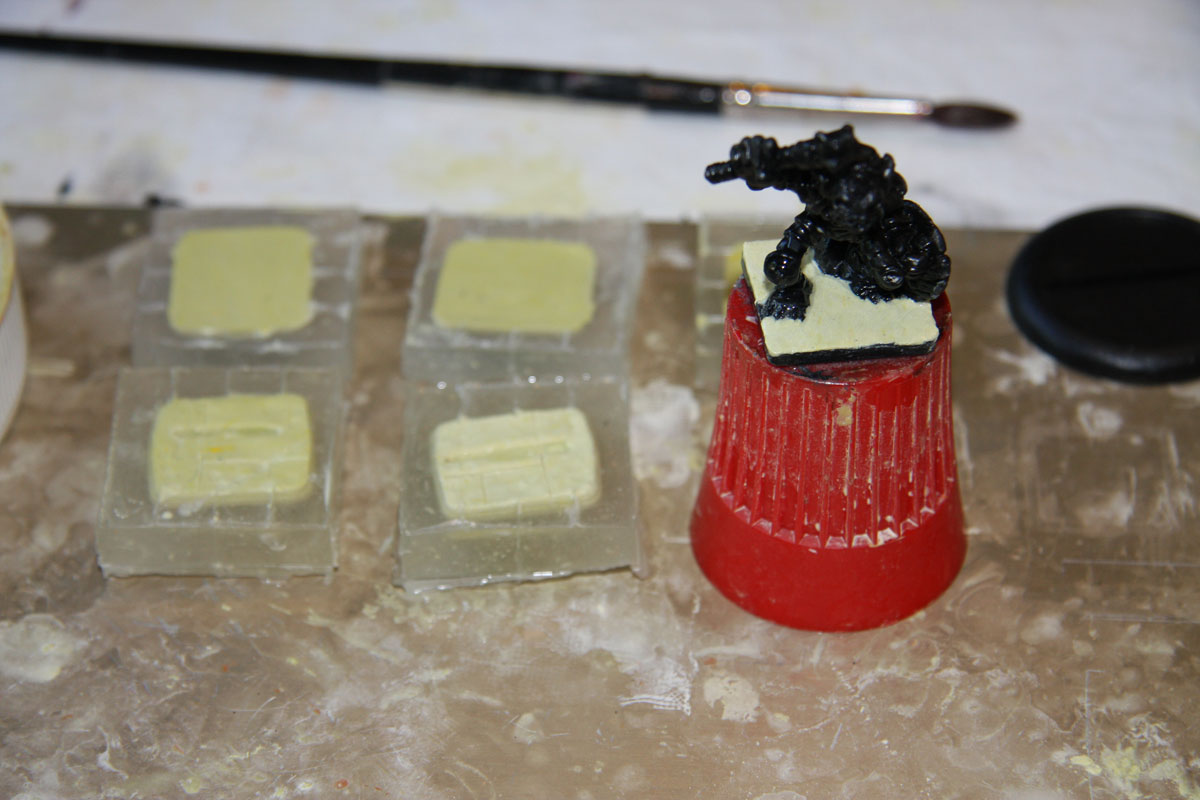
I wanted my bases to look like the corridors from the HeroQuest board, so I drybrushed some skull white paint on them first. Then I tested one base with Quickshade (bottom right, red top). That looked allright, but was too dark for my tastes. So I tried a simple wash with Devlan Mud. That got sucked into the milliput quite fast, so it didn't blend like I wanted it to, but with careful layering, I did manage to get a reaosnable result. I thinned my wash with bleached bone and water on a "wet palette" and traced the Devlan Mud lines, to get a more layered effect.

After they dry, you can glue on your minis, and finish them with a matte varnish spray (I use Army Painter's anti-shine) I hope you like this tutorial! Good luck!


 articles for the Blog in three (3) sections.")

 Miniature Exchanges.")


 Miniature Exchanges.")


 Play-by-Post games.")


 Game System monsters.")


 Miniature Exchanges.")


